![]() So you want to add your own template to Promotee? Well, just follow this tutorial and get started right away. And if you're happy with the result, please let us know and share your creation with the rest of the world!
So you want to add your own template to Promotee? Well, just follow this tutorial and get started right away. And if you're happy with the result, please let us know and share your creation with the rest of the world!
A Promotee template consists of a background image, and an optional overlay image per device on the template. This allows to have 1 background image (which contains e.g. 3 iPhone's next to each other) and a glossy overlay layer per iPhone.
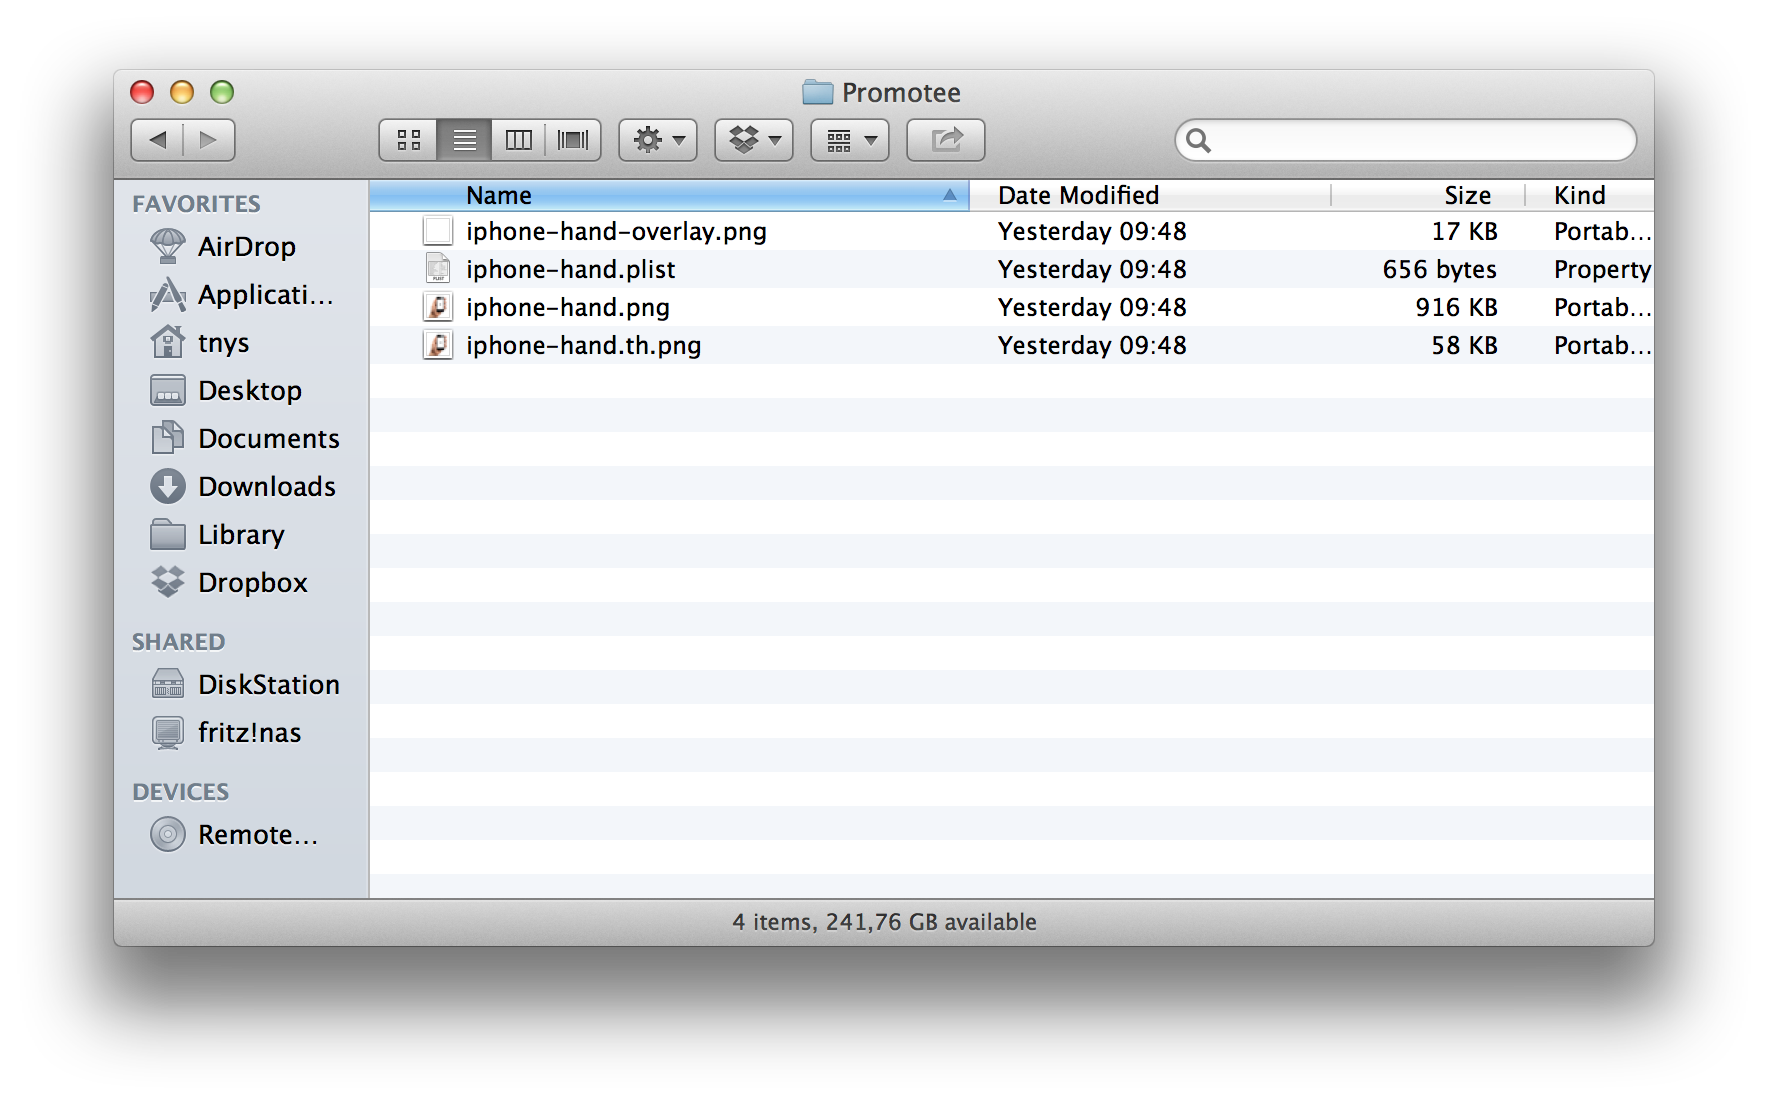
- Save the background image to an empty folder at maximum resolution, in PNG format with .png as extension.
- Copy an existing Promotee plist into the same folder, rename it to match the filename of the background image. Here's a sample plist.
- Edit the plist to match the background image. The plist is a dictionary with following structure:
title Shown in bottom-right in Promotee device Either iOS, OSX or Android imageInfo Array with a Dictionary per device on your template dropzone Rectangle: {{lowerLeftX, lowerLeftY}, {imageWidth, imageHeight}}. In relative coordinates (whereby total width of template is 1.0 and total height of template is 1.0). The easiest way to calculate the dropzone, is to resize the template temporarily to 1000px wide, and measure where the bottom left starts. lowerLeftX = width / 1000, lowerLeftY = height / backgroundImageHeight. imageWidth = width_of_iPhone_screen / 1000, imageHeight = height_of_iPhone_screen / backgroundImageHeight. bottomLeft Point {x, y} In relative coordinates to the dropzone. For a rectangular image, bottomLeft is {0, 0} bottomRight Point {x, y} In relative coordinates to the dropzone. For a rectangular image, bottomRight is {1, 0} topLeft Point {x, y} In relative coordinates to the dropzone. For a rectangular image, topLeft is {0, 1} topRight Point {x, y} In relative coordinates to the dropzone. For a rectangular image, topRight is {1, 1} overlay Filename of the overlay image. Extension should not be added, file on disk should have png extension. - Duplicate the background image and append .th to its filename, before the extension. Resize this image to e.g. 320px wide (thumbnail)
- Copy the overlay images into the same folder. Make sure they have the png extension
- The location of the Promotee templates depends on whether you downloaded from the Mac App Store or through our own online store. In case of Mac App Store downloads, the templates reside in your user folder, in Library > Containers > be.netwalk.promotee > Data > Library > Application Support > Promotee2 > templates. For our own store downloads, the templates reside in your user folder, in Library > Application Support > Promotee2 > templates. Drop all files you created into the templates-folder, and restart Promotee.